#03 - TUbeDrop and TUbe Recorder
New features regarding TU Graz TUbe
TU Graz TUbe, the video portal of Graz University of Technology, and the TU Graz TeachCenter have been integrated even further as of the end of March 2020. The result was TUbeDrop, the possibility to upload and manage your own videos directly via the TeachCenter. In the middle of June 2020, the next feature, TUbe Recorder, was released. It is part of TUbeDrop and allows teachers to record videos directly on TUbe.
What do I need to be able to use TUbeDrop and the TUbe Recorder?
The use o the TUbe Recorder application is tied to a TeachCenter course. There is no TeachCenter course for your course yet? Please send a request to the support team.
TUbeDrop has not yet been activated in your TeachCenter course?
You can have TUbeDrop activated at any moment. Please fill in the TUbe application form (either when requesting the creation of a TeachCenter course or later).

You can find out more
about me in the FAQ.
As soon as your course has been activated, you will receive a notification and are able to use TUbeDrop.
Access to TUbeDrop and TUbe Recorder
Log in to the course where TUbeDrop (and therefore also TUbe Recorder) has been activated. Activate the editing mode by clicking Turn Editing on. TUbeDrop is now visible:
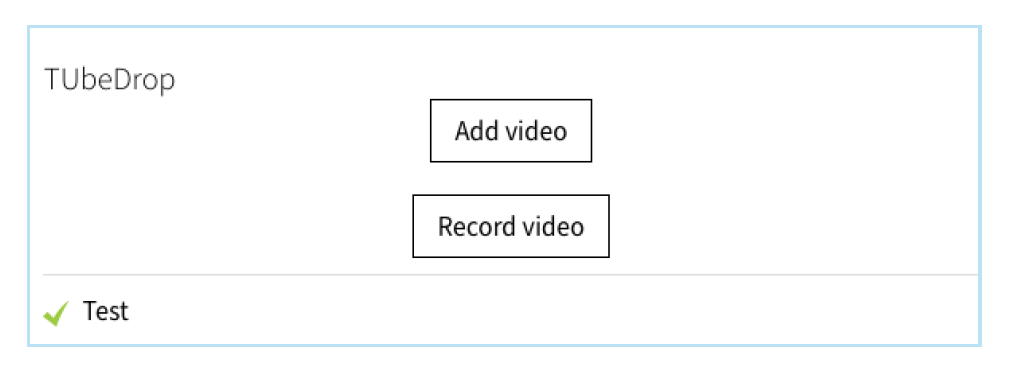
By clicking “Add Video”, you can upload an already existing video to TUbe. By clicking “Record Video”, you will be redirected to the TUbe Recorder, where you can record your screen and/or webcam with or without audio.
Add Video
Choose a title for your video. Optionally, enter the name of the speaker and the date of the video. Now, two upload areas will appear:
- The first upload area, “Camera”, should be used if you would like to upload a video that only shows a lecturer but no text.
- If your video also contains a PowerPoint presentation or something similar, please upload your video in the “Screencast” section. The reason for this is that the text of the presentation can be made searchable this way.
- If there are two synchronous videos (see TUbe Recorder), you can upload both at the same time.
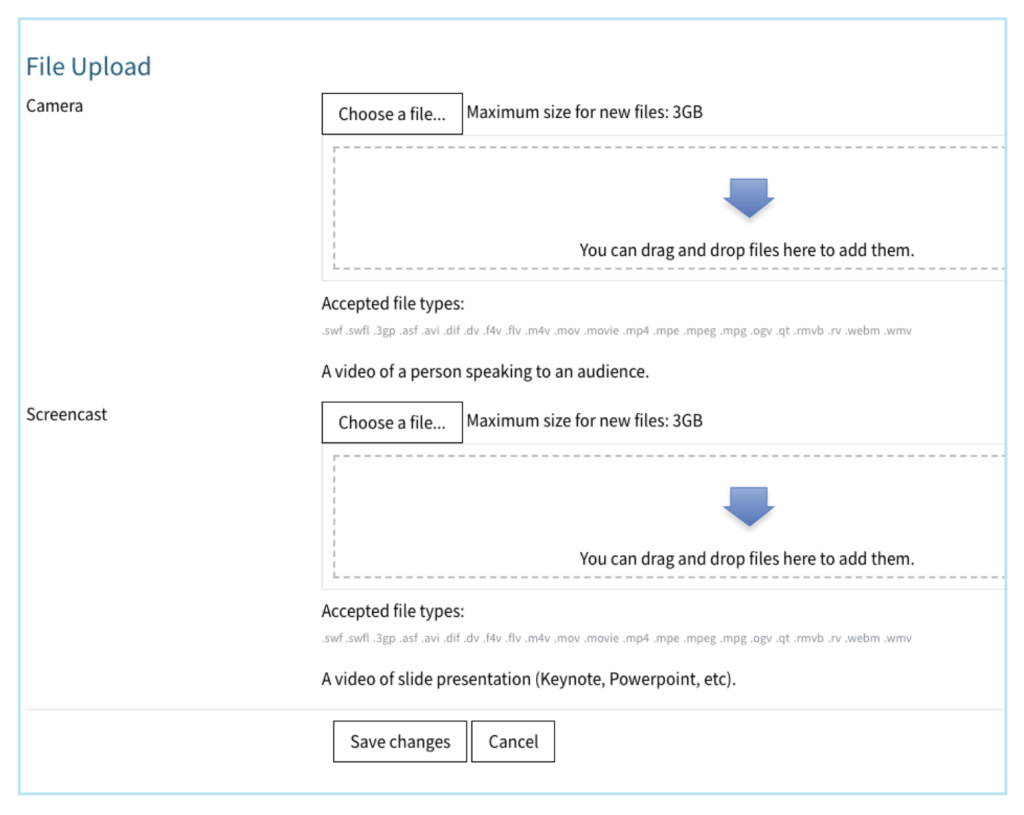
Click “Save Changes”.
You can see the status of your uploaded videos at any time by clicking “Go to overview” in the TUbeDrop block at the top of your TeachCenter course.
A green checkmark next to the video file shows that the upload to TUbe worked and the video is available on TUbe. In this view, you can also set the visibility for students by clicking on the eye symbol.
It is also possible to delete videos that have already been uploaded to TUbe.
Record Video
To record a video with TUbe Recorder, follow these steps:
Decide whether you want to record only your screen, only your webcam (camera) or your screen and camera at the same time.
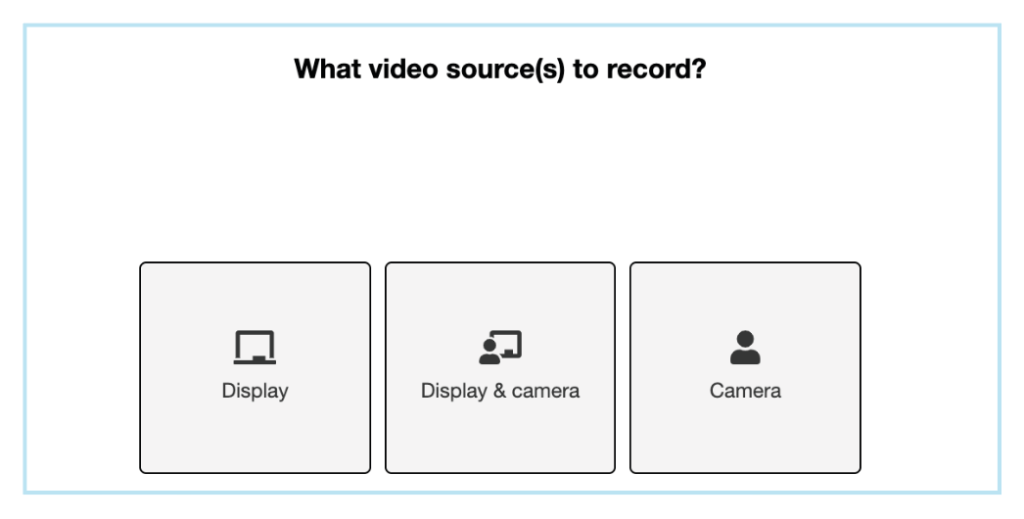
If necessary, allow your broswer to access your camera and screen. You will see a preview of the selected sources.
Confirm them by clicking “Next” or choose “Reselect Sources” if you are not happy with your choice yet.
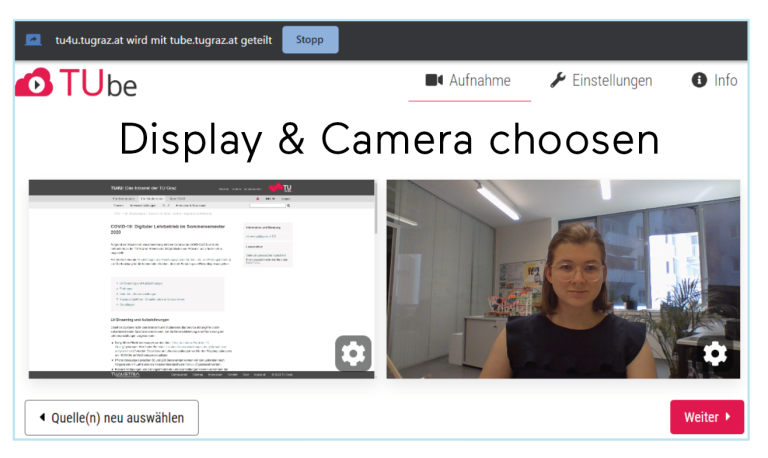
Decide whether you also want to record audio. If you choose to use your microphone, you can test it by seeing how the audiometer moves when you speak.
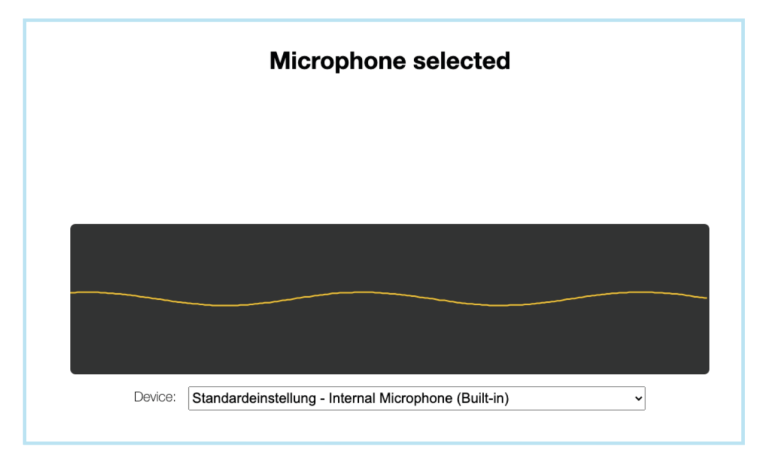
Now everything is ready for recording. Start and stop the recording by clicking the round, red button.
After you have stopped the recording, you can check it in your browser and repeat it (Discard and rerecord). You also have the option of cutting off the start or end of the video.
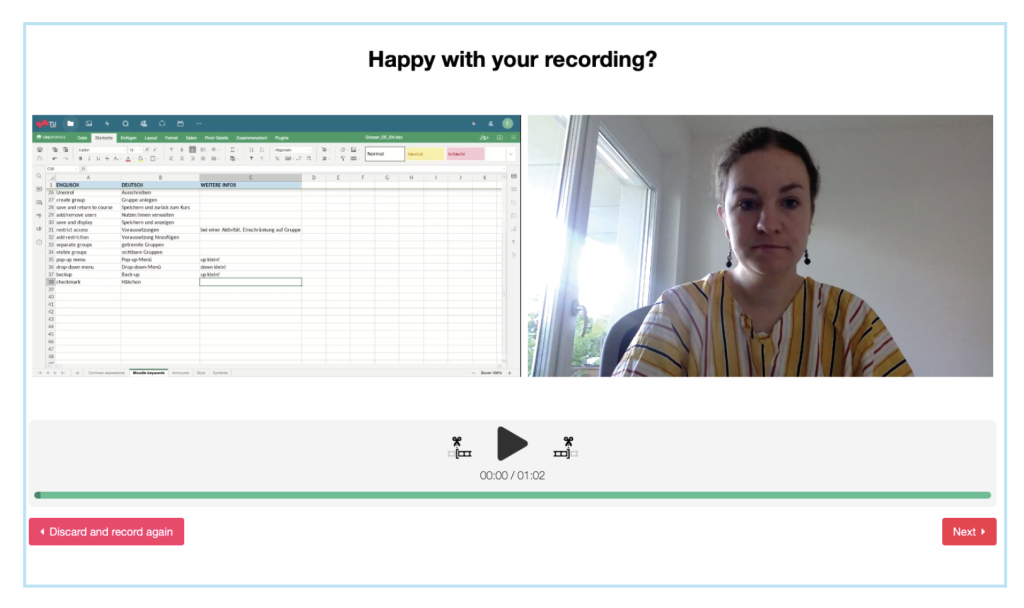

Test the audio and video quality before making a longer recording by making a short recording and listening to it/watching it here.
Add the title and name of the lecturer. Upload the video to TUbe by clicking the corresponding button (“Upload to TUbe”) and/or save the recording locally (“Save Recording”). All locally saved videos can be uploaded at a later time by using TUbeDrop.
IMPORTANT:
Please note that the upload and post-processing of recordings may take a while, depending on the length of your video and the current workload of the server. You can see the status of the process in TUbeDrop. As soon as the process is complete, you can see the finished video in your TUbe series by following the link in the TUbe section of your course.

Please also note that the recording is made locally on your computer and no data is transmitted during the recording. In contrast to online recordings, the quality of your video will not decrease if you have connectivity problems.
Where can students find the uploaded, finished videos?
Generally, TUbe videos are always connected to the respective TeachCenter courses. All of the people enrolled in a TeachCenter course also have access to the corresponding videos on TUbe. There are two options for students to access the finished videos: Either via the “TUbe” section in the TeachCenter course or – a new feature – by logging in to TUbe, clicking “Courses” and choosing the desired course.
Licensed under a Creative-Commons License CC BY-SA 4.0
(except icons)
