
Recording a PowerPoint presentation with audio
You can record a PowerPoint presentation including sound and then make it available to students on TUbe.
This user guide describes recording on Windows Office 365 and on macOS.
If you do not yet have a licence for an Office 365 package, you can use your TU Graz credentials to log in and use Office 365.
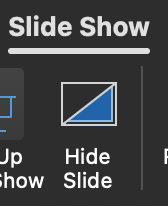
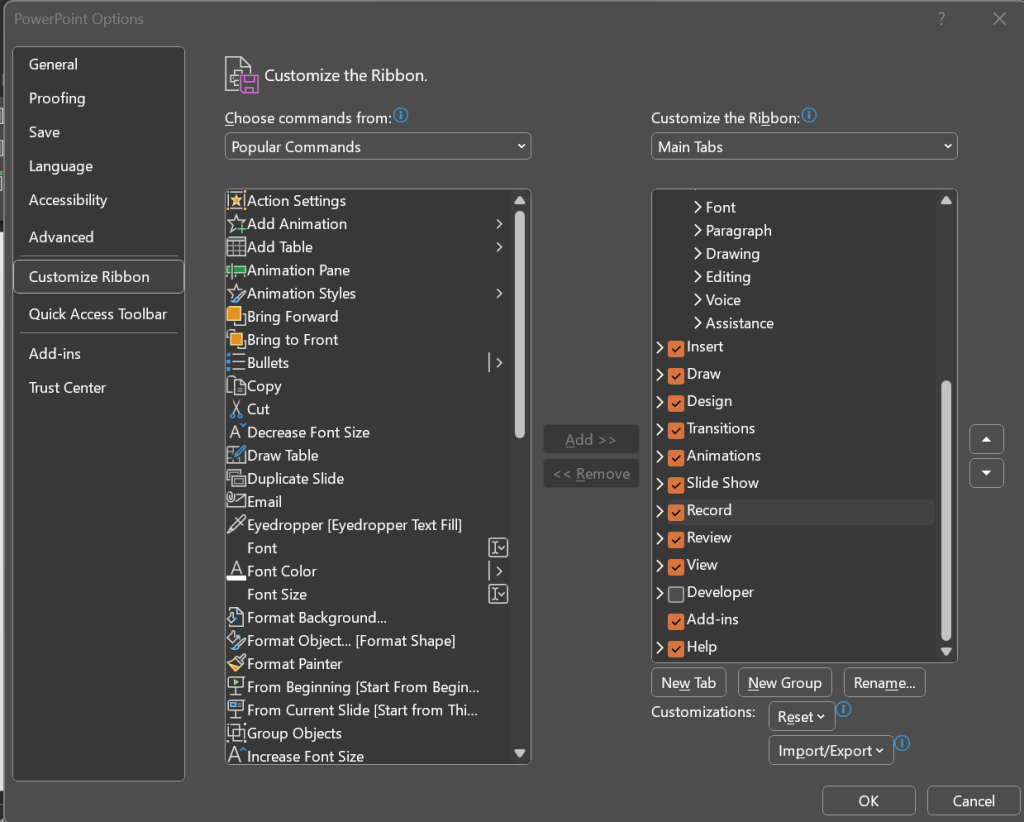
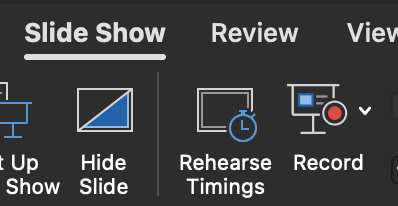
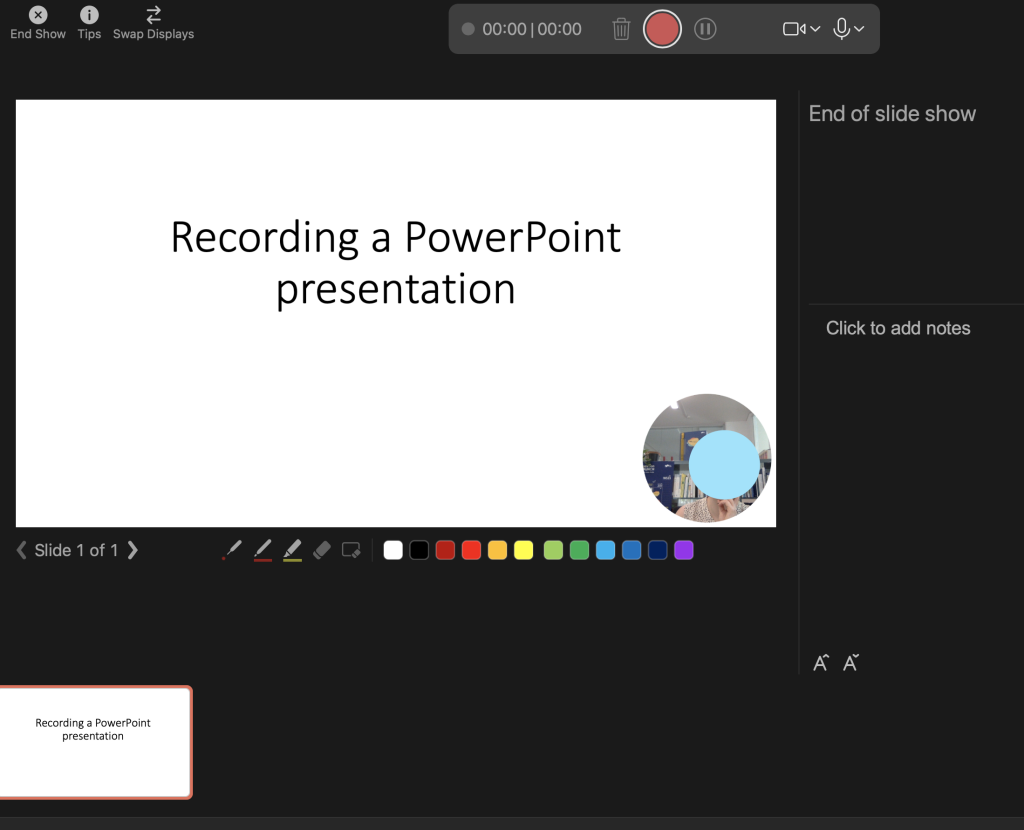
Preparing the presentation and recording


Publishing recordings for students
You can make a .ppsx file available for download in the TeachCenter.
If you have saved the recording as a video (MP4), use TUbeDrop to upload it to your TUbe series, where students can then find it.
Help & Contact
For general questions regarding videos in your courses, you can contact us at telucation@tugraz.at or va@tugraz.at
 TU Graz Educational Technology